
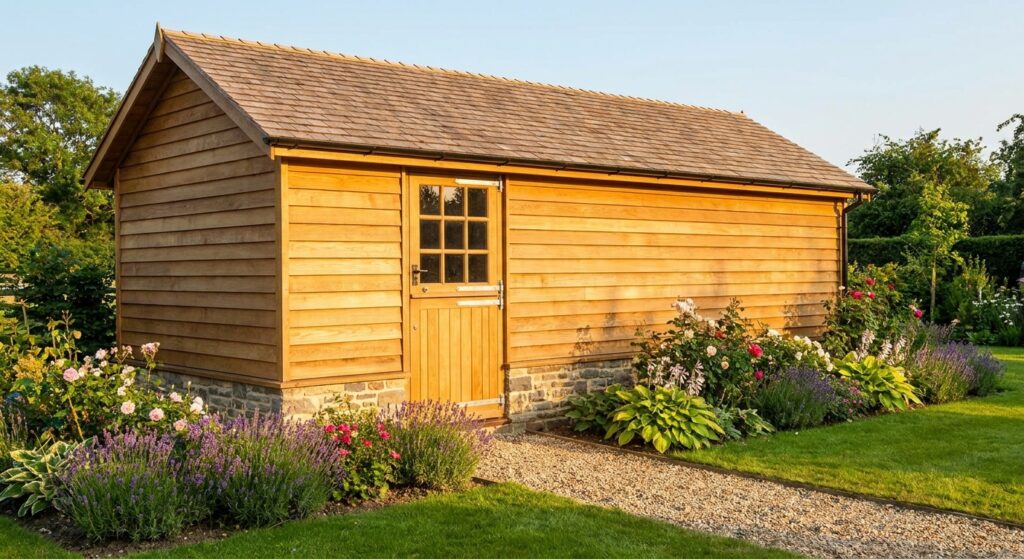
A wooden shed is a fantastic addition to any garden, but without proper care, it can quickly fall victim to damp and rot. These issues not only shorten your shed’s lifespan but can also damage anything stored inside. The good news is that with a few practical steps, you can keep your shed dry, sturdy, and looking its best for years to come.
What You Need Before You Start
Before tackling damp and rot in your wooden shed, it’s essential to gather the right tools and materials. Having everything ready will make the process smoother and help you achieve better results. Start by inspecting your shed for existing signs of moisture or decay, such as dark patches, mould, or a musty smell. This initial check will guide you on where to focus your efforts and what products you’ll need.
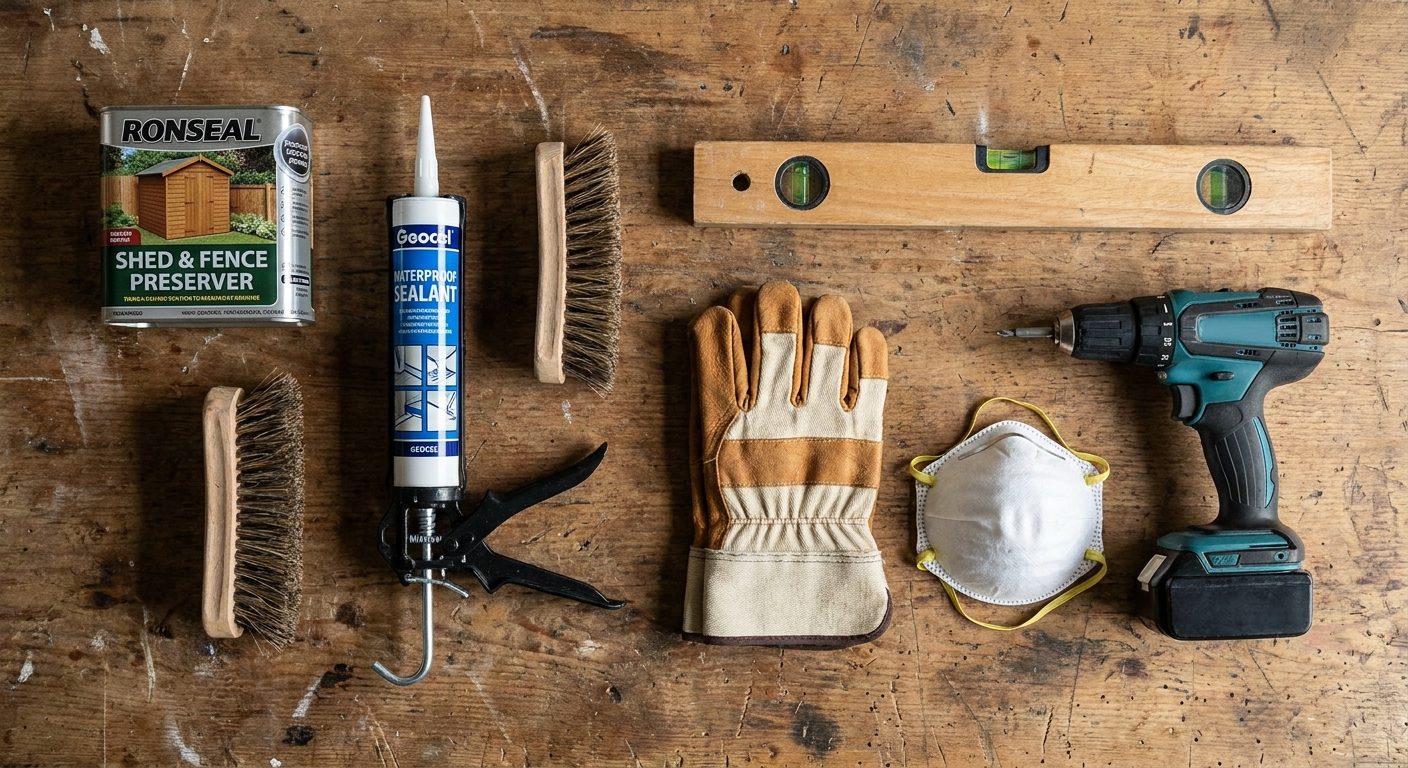
For this project, you’ll want a quality wood preservative, a waterproof sealant, a stiff brush, a caulking gun, and a spirit level. Consider investing in a breathable shed membrane and a shed base kit if your shed sits directly on the ground. A cordless drill, screws, and a hammer will also come in handy for any minor repairs. For those looking to make the job easier, products like Ronseal Total Wood Preserver or Everbuild Weatherproofing Sealant are highly recommended for their effectiveness and ease of use. Don’t forget protective gloves and a dust mask, especially when handling chemicals or working in confined spaces.
Step 1 – Ensure a Solid Shed Base
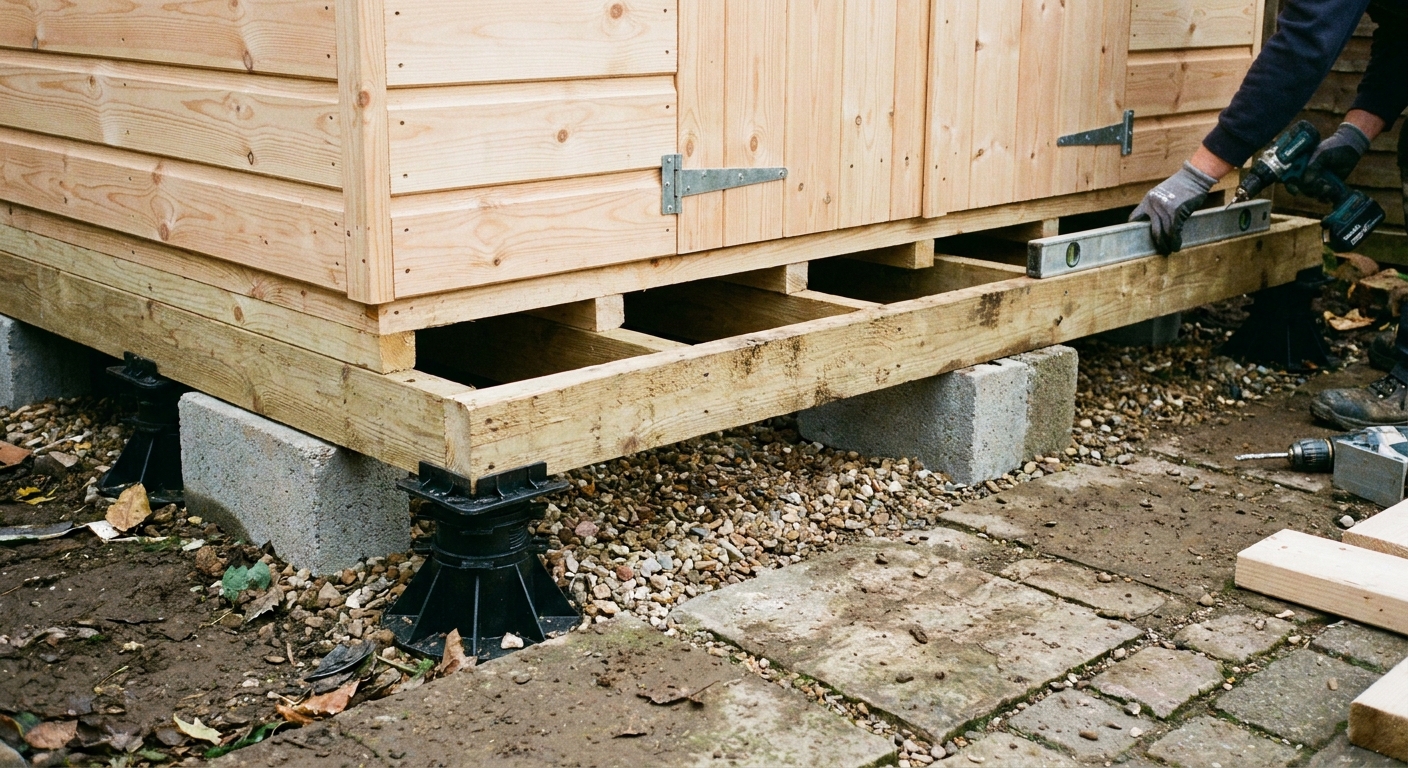
The first and most crucial step in preventing damp and rot is to ensure your shed is built on a solid, raised base. A well-constructed base keeps your shed off the ground, allowing air to circulate underneath and preventing moisture from seeping up into the wood. If your shed sits directly on soil or grass, it’s far more likely to suffer from rising damp, which can quickly lead to rot.
To create an effective base, use concrete slabs, paving stones, or a purpose-built plastic shed base. Make sure the base is level using a spirit level, as uneven ground can cause water to pool under your shed. If you’re retrofitting an existing shed, consider lifting it temporarily to install a base or adding treated timber bearers underneath. Watch out for signs of water collecting around the shed after heavy rain, as this indicates poor drainage and may require you to improve the surrounding ground or add a gravel border for better runoff.
Step 2 – Seal and Treat the Wood
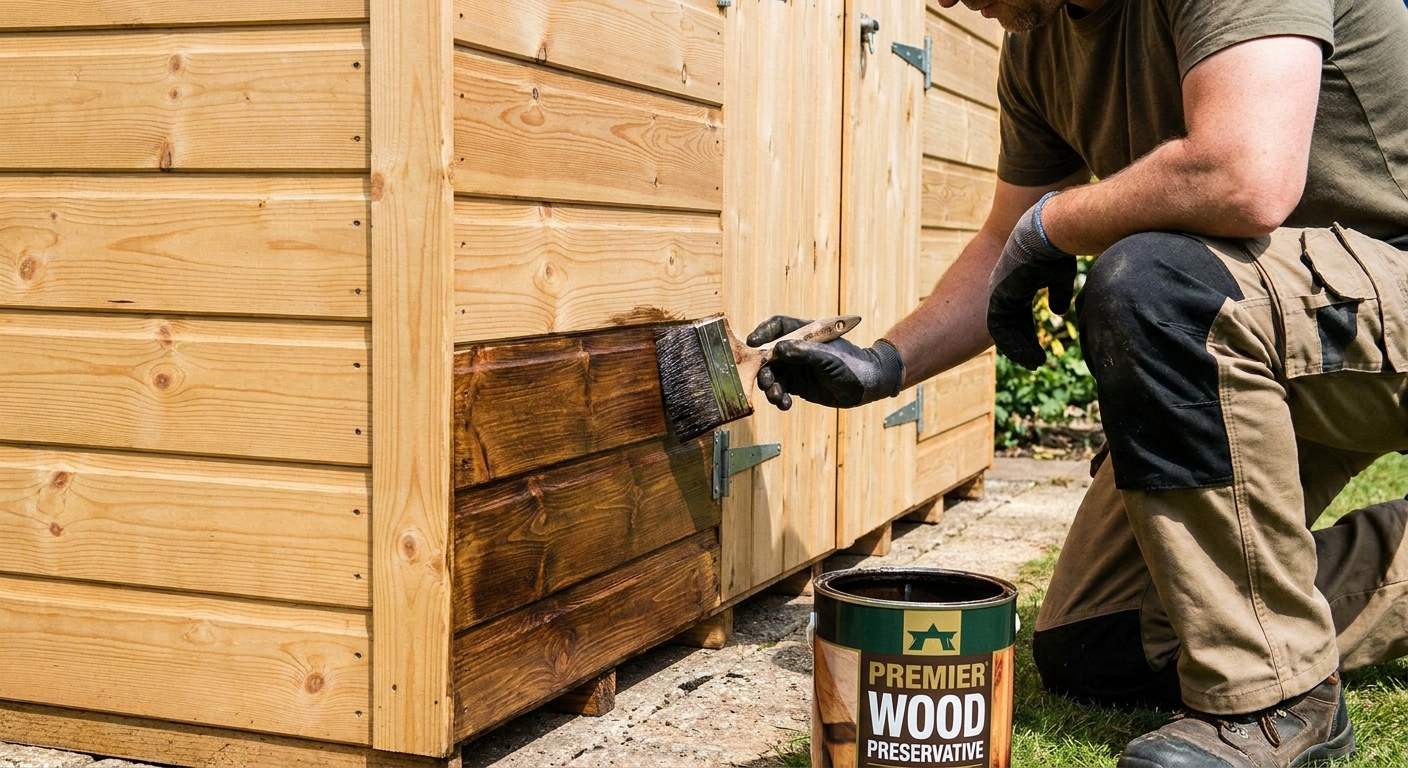
Once your shed is properly raised, the next step is to protect the wood itself. Applying a high-quality wood preservative is essential for repelling moisture and preventing fungal growth. Choose a preservative that offers both waterproofing and rot protection, and apply it generously to all exterior surfaces, including doors and window frames. For best results, use a stiff brush to work the product into the grain, paying special attention to joints and edges where water can seep in.
After the preservative has dried, seal any gaps or cracks with a weatherproof sealant using a caulking gun. This step is particularly important around windows, doors, and where panels meet. If your shed has overlapping boards, check for loose or warped sections and secure them with screws or nails. For extra protection, consider adding a breathable membrane to the inside walls before replacing any internal panelling. This allows moisture to escape while keeping rain out, which is especially useful in damp climates.
Step 3 – Improve Ventilation and Drainage
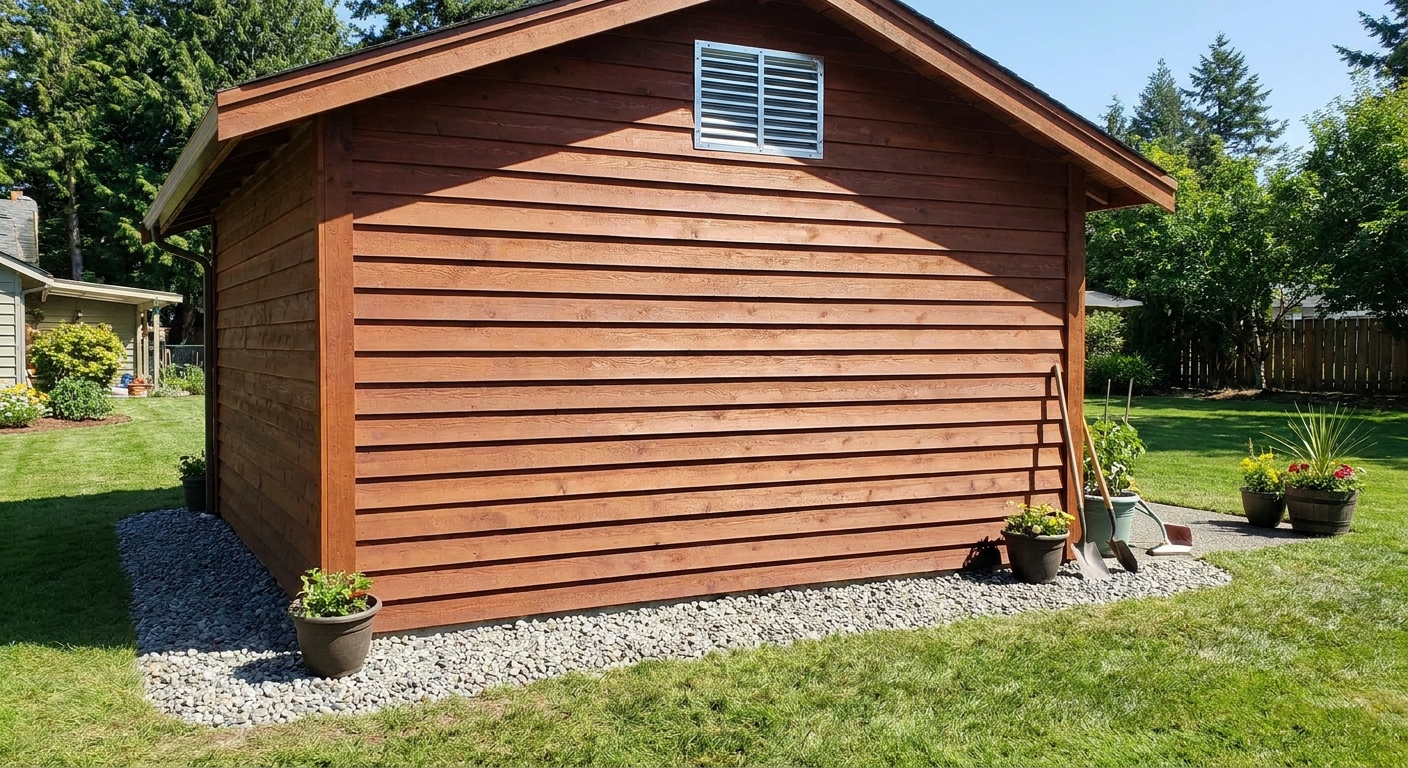
Good airflow is vital for keeping your shed dry and preventing condensation, which is a common cause of damp. Start by checking that your shed has adequate ventilation. If not, install purpose-made shed vents near the roofline on opposite walls to encourage cross-ventilation. These vents are inexpensive and easy to fit, and they make a significant difference in reducing moisture build-up inside the shed.
Next, look at the area around your shed. Make sure the ground slopes away from the base so that rainwater drains off rather than pooling. Adding a gravel or stone border around the shed can help with drainage and discourage weeds. If you notice water running off the roof and splashing against the shed walls, consider fitting guttering and a water butt to direct rainwater away. This not only protects your shed but also provides free water for your garden.
Common Problems and Fixes
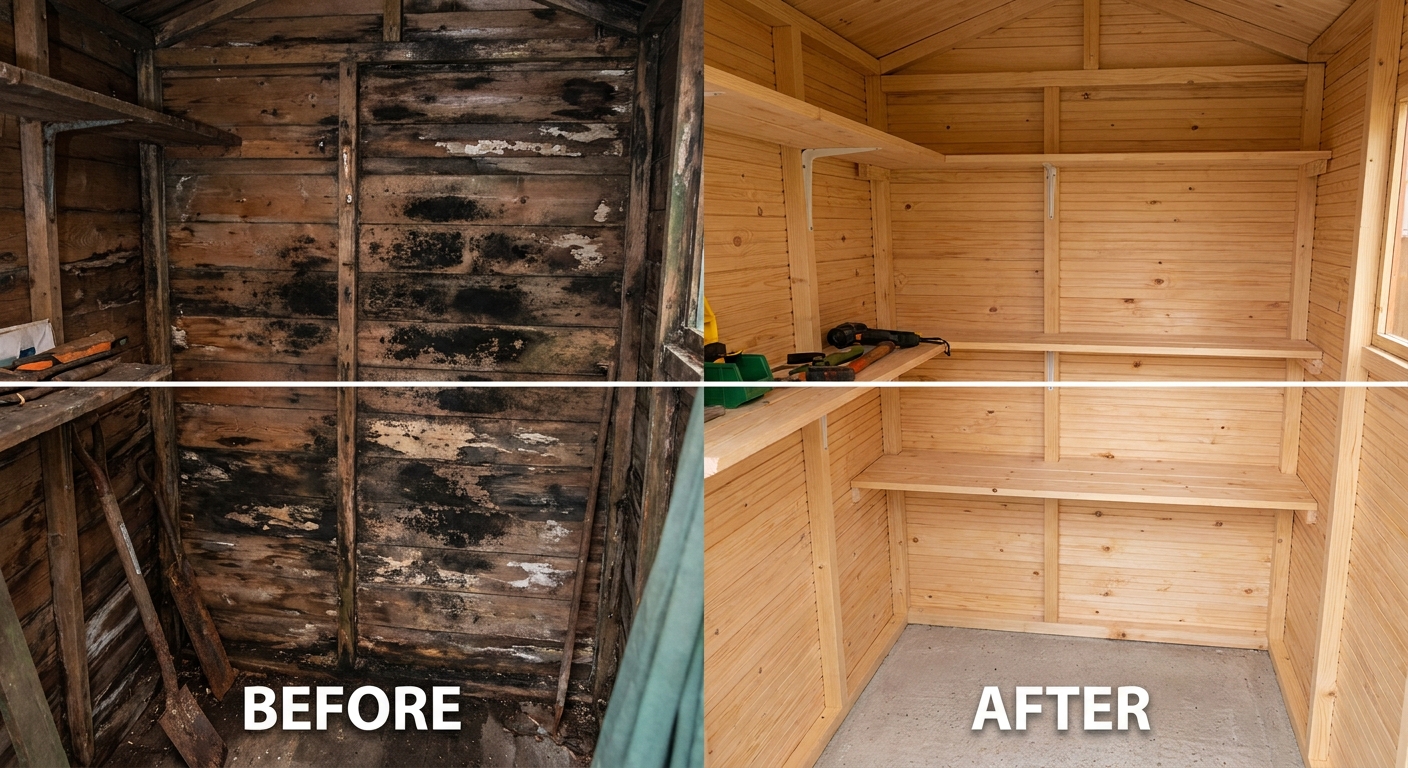
Even with the best preparation, issues can still arise. One of the most common problems is discovering patches of damp or mould inside your shed. If this happens, act quickly by removing any affected items and cleaning the area with a mould remover or a diluted bleach solution. Allow the space to dry thoroughly before reapplying wood preservative and checking for leaks or gaps that may have let water in.
Another frequent issue is soft or spongy wood, which is a sign of rot. If caught early, you can cut away the affected section and treat the surrounding area with a wood hardener. For more extensive damage, it may be necessary to replace entire panels or floorboards. Always use treated timber for repairs to prevent the problem from recurring.
Condensation on windows or the inside of the roof is also a common complaint, especially in colder months. This usually points to poor ventilation. Installing additional vents or leaving the door open on dry days can help. If condensation persists, consider using a moisture absorber or dehumidifier designed for sheds and outbuildings. Regularly inspect your shed, especially after heavy rain or snow, to catch problems early and keep your shed in top condition.
Tips for Better Results
For long-lasting protection, make shed maintenance part of your seasonal routine. Reapply wood preservative every couple of years, and check seals and fixings after storms or extreme weather. Keep the area around your shed clear of leaves and debris, as these can trap moisture and encourage rot at the base.
Consider raising stored items off the floor using shelving or pallets, especially if you keep tools or garden equipment inside. This not only protects your belongings but also allows air to circulate freely. If you’re building a new shed, opt for pressure-treated timber and factory-applied finishes for extra peace of mind. Remember, a little effort now saves a lot of hassle later, ensuring your wooden shed remains a dry, reliable space for years to come.
Frequently Asked Questions
How often should I treat my wooden shed to prevent damp?
It’s best to apply a wood preservative every two to three years, or more frequently if your shed is exposed to harsh weather. Regular checks and touch-ups will help maintain protection.
Can I fix rot in my shed, or do I need to replace the whole panel?
Minor rot can often be cut out and the area treated with a wood hardener. For severe or widespread rot, it’s safer and more effective to replace the affected panels or boards.
What’s the best way to improve ventilation in my shed?
Install purpose-made shed vents near the roof on opposite walls to create cross-ventilation. Leaving the door open on dry days also helps reduce moisture build-up.
Is a plastic shed base better than concrete for preventing damp?
Both options work well if installed correctly. Plastic bases are easier to fit and allow for good drainage, while concrete is more permanent and sturdy. The key is to keep the shed raised and well-drained.
Should I use a dehumidifier in my shed?
A dehumidifier can help in particularly damp sheds, especially during wet seasons. Choose a model designed for outbuildings and use it alongside proper ventilation for best results.
Preventing damp and rot in a wooden shed is all about preparation, regular maintenance, and using the right products. By following these steps, you’ll protect your investment and enjoy a dry, reliable space for storage or hobbies. Remember, a little care goes a long way towards keeping your shed in top condition.