
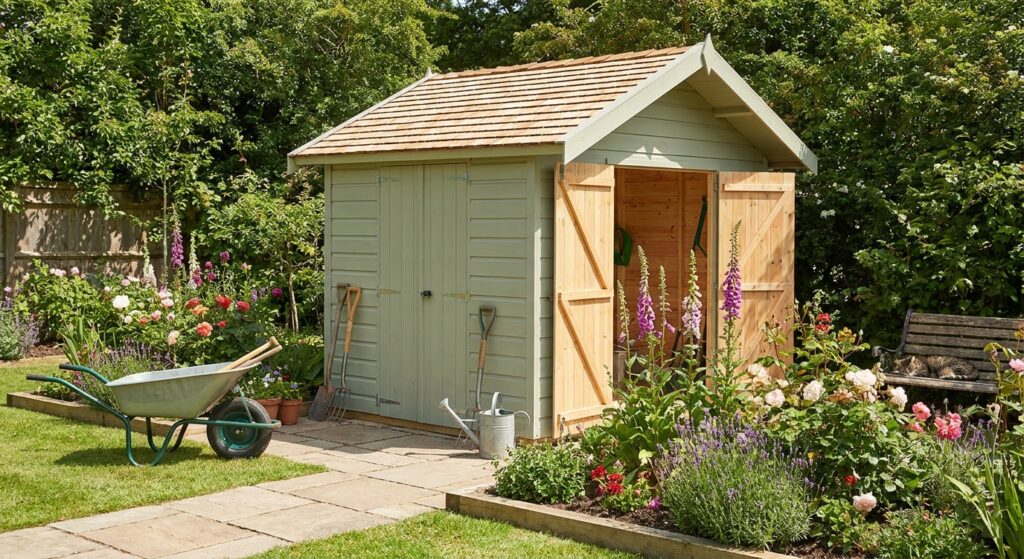
Flat-pack garden sheds have become a staple for homeowners seeking extra storage or a dedicated workspace in their garden. With the right preparation and a clear plan, assembling your own shed can be a rewarding DIY project, even for beginners. This comprehensive guide will walk you through each step, ensuring a smooth build and a sturdy, long-lasting result.
What You Need Before You Start
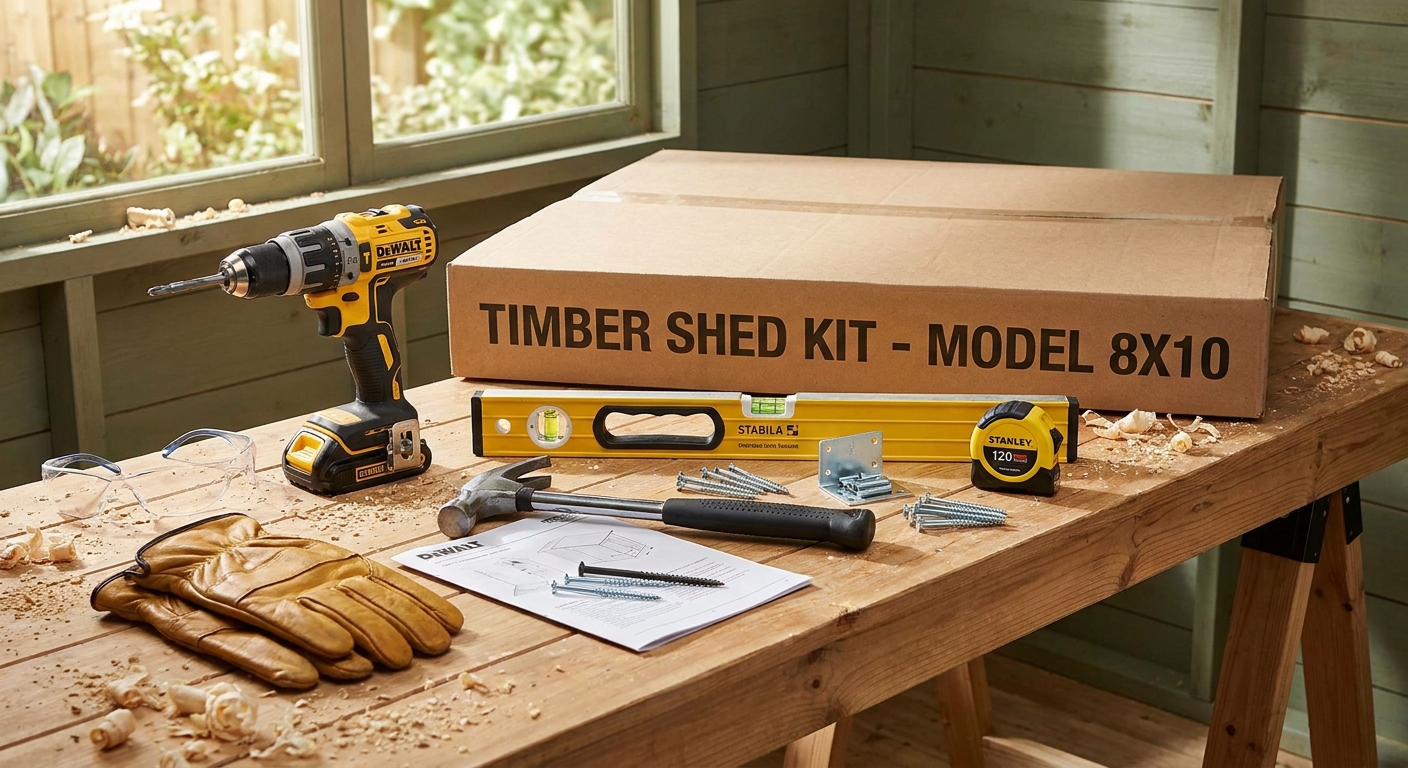
Before you dive into assembling your flat-pack garden shed, it’s essential to gather all the necessary tools and materials. Most flat-pack kits include the main panels, fixings, and an instruction manual, but you’ll need a few extra items to make the process straightforward. Commonly required tools include a cordless drill with screwdriver bits, a hammer, a spirit level, a tape measure, a step ladder, and safety gear such as gloves and protective eyewear. Having everything at hand will prevent unnecessary interruptions and help you stay organised throughout the build.
It’s also wise to prepare your workspace in advance. Choose a dry day and clear a flat area near your shed’s intended location. If your kit doesn’t include a base, consider purchasing a pre-made shed base or concrete slabs for a stable foundation—these are available from reputable suppliers like Simply Sheds. For those looking to make the job easier, investing in a quality electric screwdriver or a ratchet set can save time and effort. Don’t forget to check the contents of your kit against the parts list before starting, as missing pieces can cause frustrating delays.
Step 1 – Prepare the Base and Layout
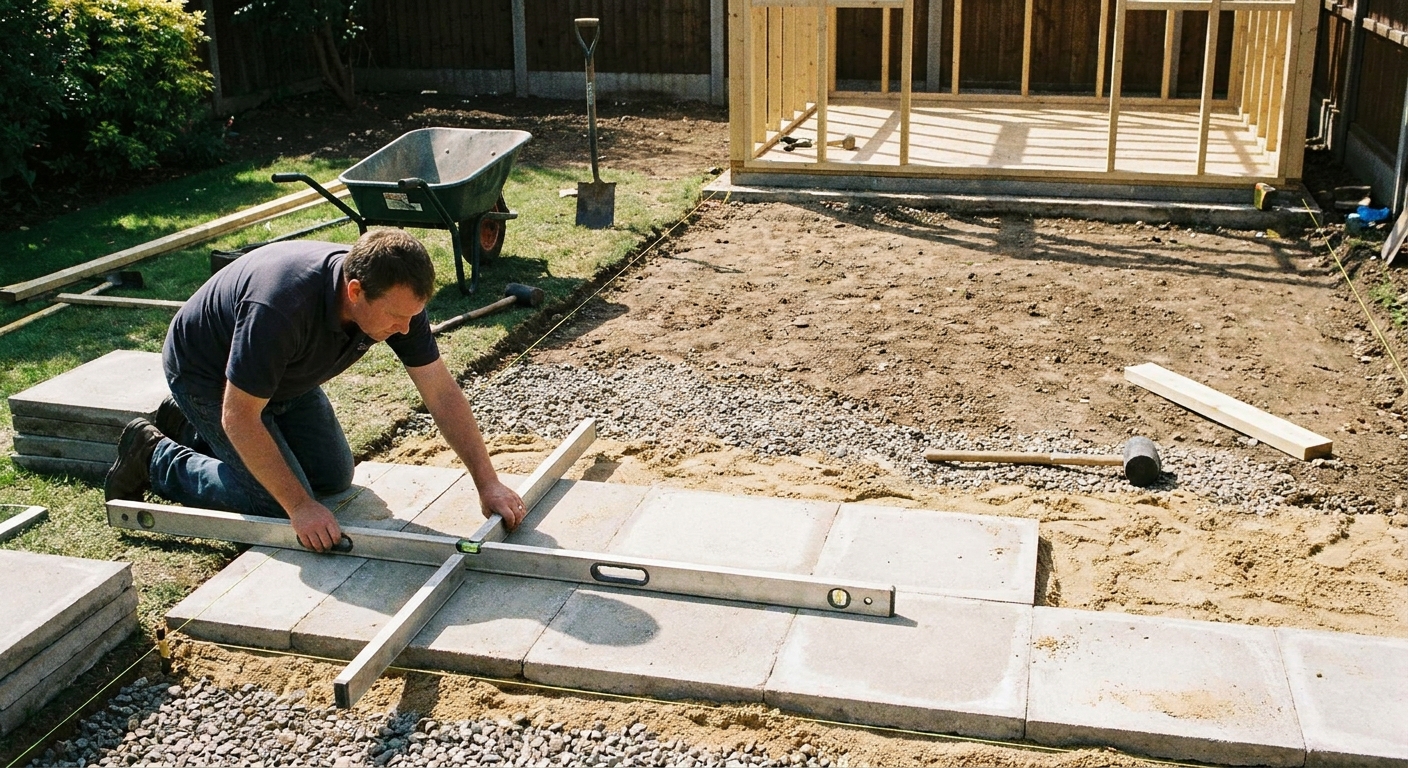
The first actionable step in assembling your flat-pack garden shed is preparing a solid, level base. A stable foundation is crucial for the longevity and structural integrity of your shed. Begin by measuring out the area where your shed will sit, ensuring it’s free from debris, roots, or stones. If you’re using a pre-made base or paving slabs, lay them out and check for levelness with a spirit level. Adjust as needed by adding or removing soil or sand until the surface is perfectly flat. This attention to detail will prevent future issues like warped panels or sticking doors.
Once your base is ready, carefully unpack your flat-pack kit and lay out all the components in the order recommended by the manual. Group similar parts together, such as wall panels, roof sections, and fixings, to streamline the assembly process. Take a few moments to familiarise yourself with the instructions, noting any warnings or special tips. Many kits now include QR codes linking to video guides, which can be invaluable for visual learners. At this stage, double-check that all parts are present and undamaged—report any issues to your supplier before proceeding.
Step 2 – Assemble the Walls
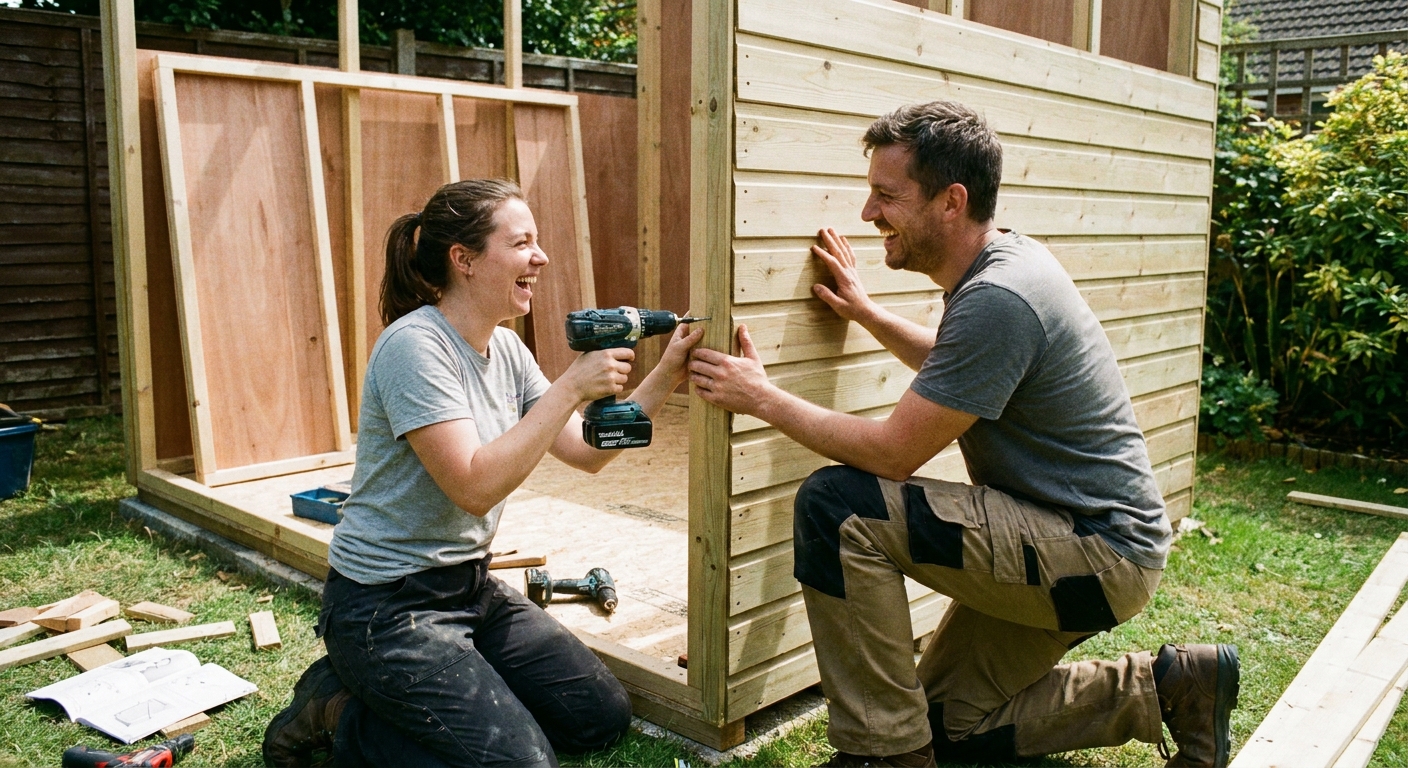
With your base in place and all components organised, it’s time to start assembling the shed’s walls. Begin by positioning the first wall panel at one corner of the base, ensuring it sits flush and square. Secure it temporarily with a clamp or by enlisting a helper to hold it steady. Attach the adjacent wall panel, connecting the two using the supplied fixings—typically screws or bolts. It’s important to check that each panel is level and plumb before fully tightening the fixings, as small misalignments can become problematic later in the build.
Continue adding panels one by one, following the sequence outlined in your manual. If your shed features windows or doors, pay close attention to their placement and orientation. Some kits require you to install window frames or door supports at this stage, so refer to the diagrams provided. For larger sheds, it’s helpful to have an extra pair of hands to support panels while you secure them. Take your time with this step, as a well-aligned frame will make the rest of the assembly much easier and ensure your shed remains weatherproof and sturdy.
Step 3 – Fit the Roof and Doors
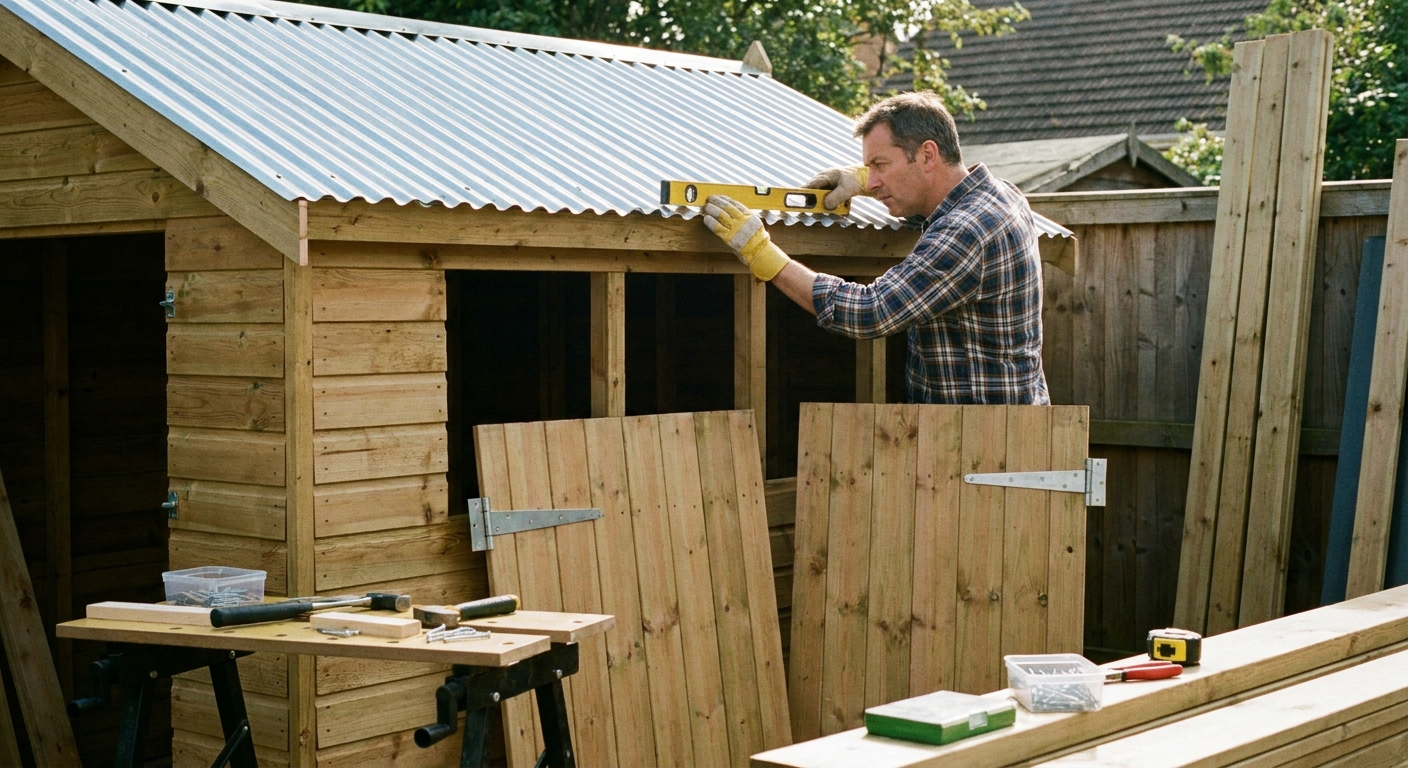
Once the walls are securely in place, you can move on to fitting the roof and doors. Start by positioning the roof panels or trusses as directed in your kit’s instructions. Most flat-pack sheds use interlocking roof sections that slot together and are then fixed to the wall frame. Use your spirit level to ensure the roof is even, as this will help prevent leaks and ensure rainwater runs off correctly. Secure the roof panels with the supplied screws or nails, taking care not to overtighten and damage the material.
With the roof installed, attach any felt, shingles, or waterproof membrane provided. This step is vital for protecting your shed from the elements, so follow the manufacturer’s guidelines closely. Next, hang the doors by fixing the hinges to the pre-marked points on the frame. Check that the doors swing freely and align with the latch or lock. Adjust as needed before tightening the fixings. Finally, add any finishing touches such as window panes, handles, or weatherstrips to complete your shed’s assembly.
Common Problems and Fixes
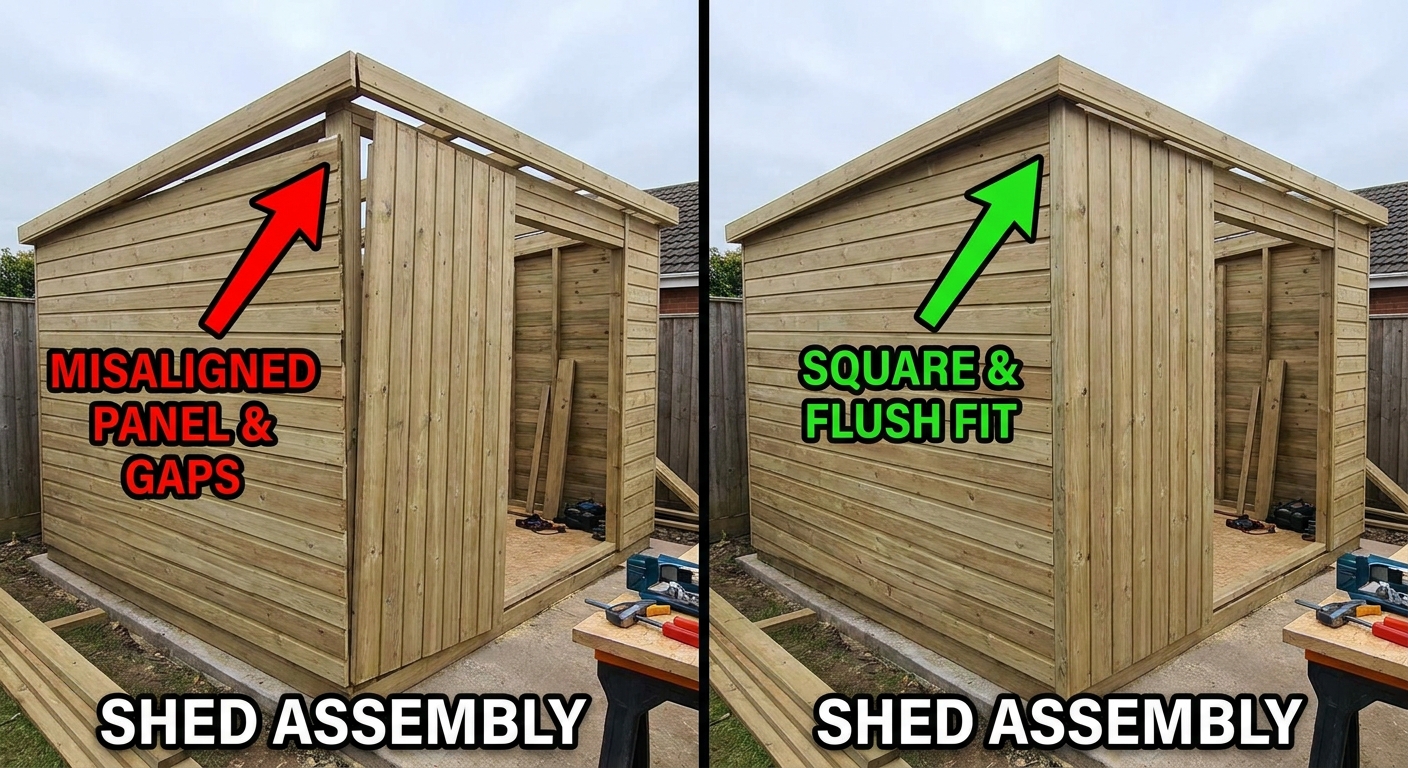
Even with careful preparation, you may encounter a few hiccups during your flat-pack garden shed assembly. One common issue is panels not aligning correctly, which often stems from an uneven base. If you notice gaps or misaligned screw holes, pause and recheck your foundation—adjusting the base can often resolve these problems. Another frequent challenge is missing or damaged fixings. Always check your kit contents before starting, but if you discover a shortage mid-build, contact your supplier promptly for replacements rather than improvising with unsuitable hardware.
Leaking roofs are another concern, especially if the waterproofing materials aren’t installed properly. If you spot drips or damp patches after rainfall, inspect the roof felt or membrane for gaps or loose edges. Re-secure or overlap the material as needed, and use a suitable sealant for extra protection. Sticking doors or windows can usually be fixed by adjusting the hinges or planing the edges slightly—this is especially common in timber sheds, which may swell or shrink with weather changes. Take your time to make small, careful adjustments for a smooth fit.
Finally, if you find the shed feels unstable or wobbly after assembly, check that all fixings are fully tightened and that the structure is square. Sometimes, adding extra bracing or re-tightening corner joints can make a significant difference. Remember, patience and attention to detail are your best tools for overcoming these common hurdles and ensuring your shed stands strong for years to come.
Tips for Better Results
To achieve a professional finish and maximise the lifespan of your flat-pack garden shed, consider a few expert tips. First, treat any exposed timber with a quality wood preservative before assembly, especially if your kit is supplied untreated. This simple step adds years of protection against rot and insects. When fixing panels together, avoid overtightening screws, as this can split the wood or deform metal panels—tighten just enough for a snug, secure fit.
Another pro shortcut is to pre-drill pilot holes for screws, which helps prevent splitting and makes assembly smoother. If you’re working alone, use temporary supports or clamps to hold panels in place while you secure them. Finally, once your shed is complete, add guttering to direct rainwater away from the base and reduce the risk of damp. Regularly check and maintain your shed, especially after storms or heavy use, to catch any issues early and keep it looking its best for years to come.
Frequently Asked Questions
How long does it take to assemble a flat-pack garden shed?
Most flat-pack garden sheds can be assembled in a day by two people, though larger or more complex models may take longer. Preparation and having the right tools ready can significantly speed up the process.
Do I need a concrete base for my shed?
A concrete base is ideal for stability and longevity, but many sheds can be installed on paving slabs or a purpose-built timber base. The key is ensuring the base is level and well-drained.
Can I assemble a flat-pack shed on my own?
While it’s possible to assemble smaller sheds solo, having a helper makes the process easier and safer, especially when handling large panels or aligning walls and roof sections.
What should I do if parts are missing from my kit?
Check the contents against the parts list before starting. If anything is missing, contact your supplier immediately—reputable companies will send replacements promptly.
How can I make my shed more weatherproof?
Apply a high-quality wood preservative, ensure roof felt or membrane is installed correctly, and add guttering to direct water away from the base. Regular maintenance also helps keep your shed weatherproof.
Assembling a flat-pack garden shed is a practical project that can transform your outdoor space and provide valuable storage or workspace. By following each step carefully and taking the time to prepare properly, you’ll enjoy a sturdy, attractive shed that stands the test of time. Remember, a little patience and attention to detail go a long way in achieving a professional result.