
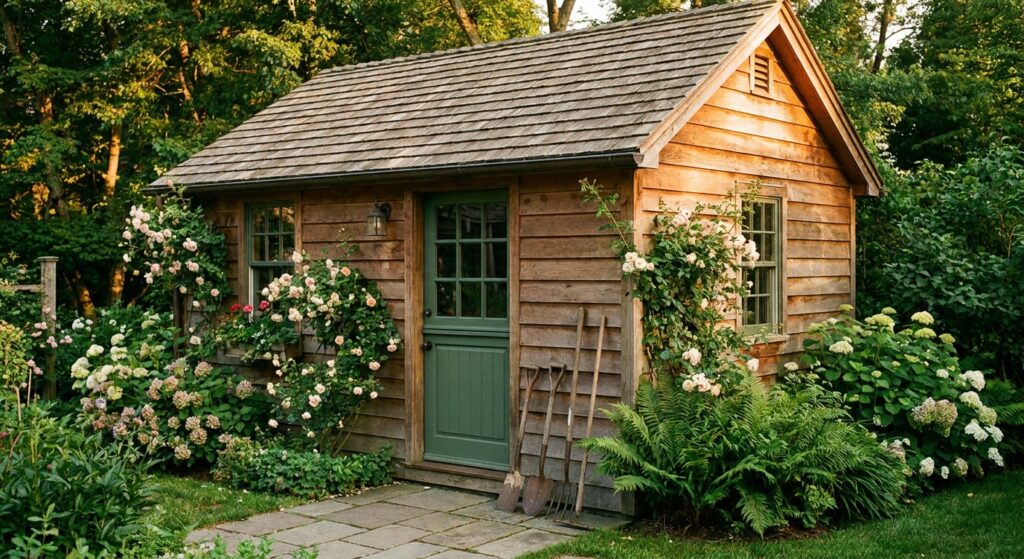
A garden shed is more than just a storage space; it is a significant investment that protects your valuable tools and equipment. By taking a proactive approach to maintenance, you can ensure your structure remains a reliable feature of your garden for many years to come.
What You Need Before You Start
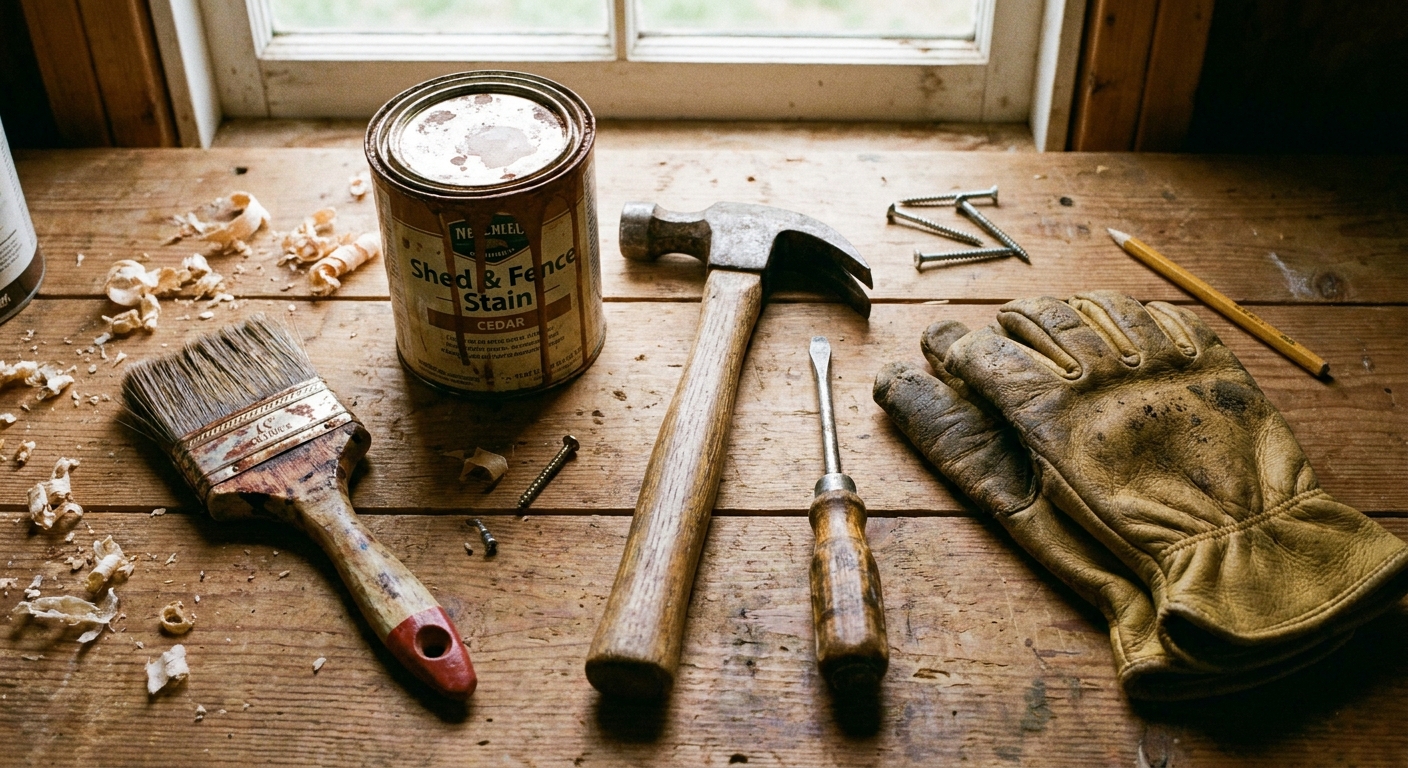
Before you begin any maintenance work, gathering the right equipment is essential for both safety and efficiency. You will need a sturdy ladder, a stiff-bristled brush for clearing debris, high-quality wood preservative, and a reliable sealant for the roof. If you are working on an older structure, consider investing in a wood filler or a specialised rot-treatment solution to address any existing damage before applying a fresh coat of protection.
Having the right tools at your disposal makes the job significantly easier and ensures a professional finish. We recommend using a high-quality exterior-grade paint or stain, which you can find in our recommended wood care range. Additionally, keep a set of basic hand tools like a screwdriver and a hammer handy, as you may discover loose hinges or damaged boards that require immediate attention during your inspection.
Step 1 – Establishing a Solid Foundation
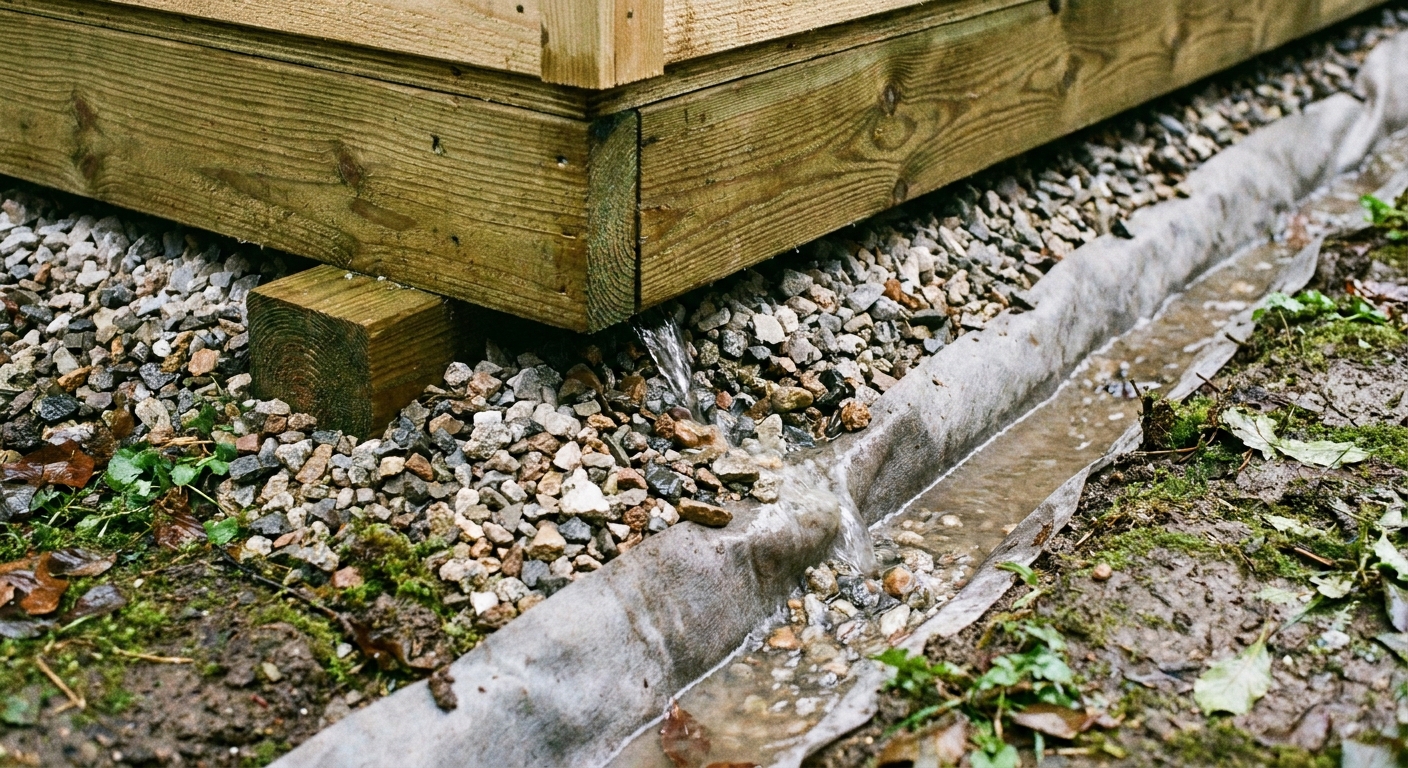
The longevity of any shed begins at the ground level, as moisture is the primary enemy of timber structures. Ensure your shed is raised off the ground using pressure-treated bearers or a concrete slab to prevent direct contact with damp soil. If you notice the shed is sitting directly on the grass, it is worth the effort to lift it and install a gravel base or paving slabs to improve drainage and airflow beneath the floor joists.
Regularly check the perimeter of the shed for any vegetation that might be trapping moisture against the walls. Overgrown shrubs or long grass can create a humid microclimate that accelerates rot, so keep the area clear to allow for proper ventilation. Watch out for signs of sinking or unevenness, as a level foundation prevents the frame from twisting and ensures that doors and windows continue to operate smoothly throughout the seasons.
Step 2 – Weatherproofing the Exterior
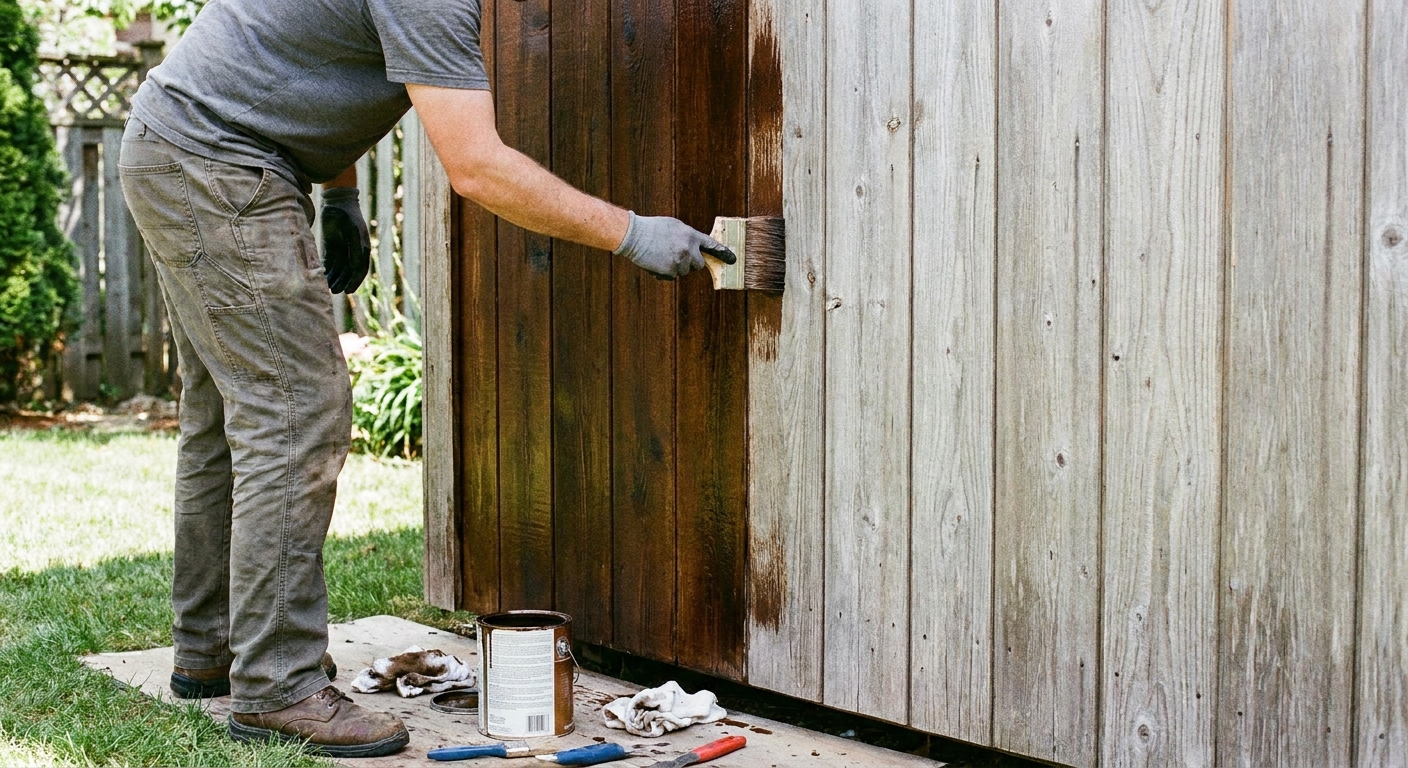
Once the foundation is secure, focus your attention on the exterior cladding, which acts as the primary shield against the elements. Apply a high-quality wood preservative or a water-repellent stain every two to three years to keep the timber nourished and resistant to fungal decay. When applying these treatments, pay special attention to the end grains of the wood, as these areas are the most absorbent and prone to soaking up rainwater.
If you have a timber shed, ensure that all joints and corners are properly sealed with a flexible exterior-grade caulk to prevent water ingress. During the application process, always work on a dry day when the wood is moisture-free, as trapping water under a layer of paint or stain can actually do more harm than good. A well-sealed exterior not only protects the structural integrity of the shed but also keeps your stored items dry and free from mould.
Step 3 – Maintaining the Roof Integrity
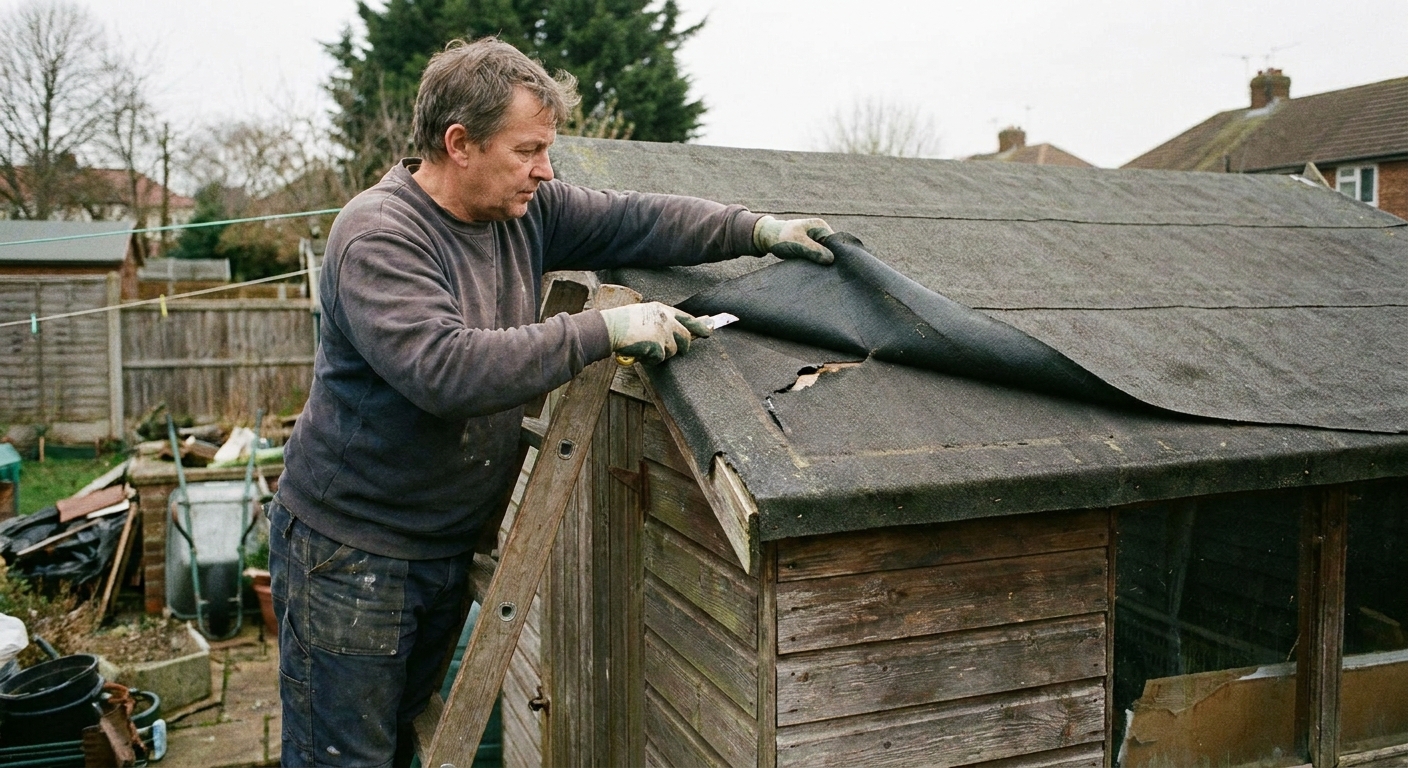
The roof is the most vulnerable part of your shed, as it bears the brunt of heavy rainfall and UV exposure. Inspect the roofing felt or shingles at least twice a year, looking for tears, loose edges, or signs of brittleness that could lead to leaks. If you find small punctures, these can often be patched with a bit of bitumen adhesive and a piece of matching roofing felt, saving you from a full replacement.
For those looking for a long-term solution, consider upgrading to a metal roof or rubberised roofing membrane, which offer superior durability compared to traditional felt. Keep the roof clear of overhanging tree branches, which can scrape the surface during high winds and provide a path for debris to accumulate. By keeping the roof clean and watertight, you effectively prevent water from seeping into the internal frame, which is the most common cause of structural failure in garden buildings.
Common Problems and Fixes
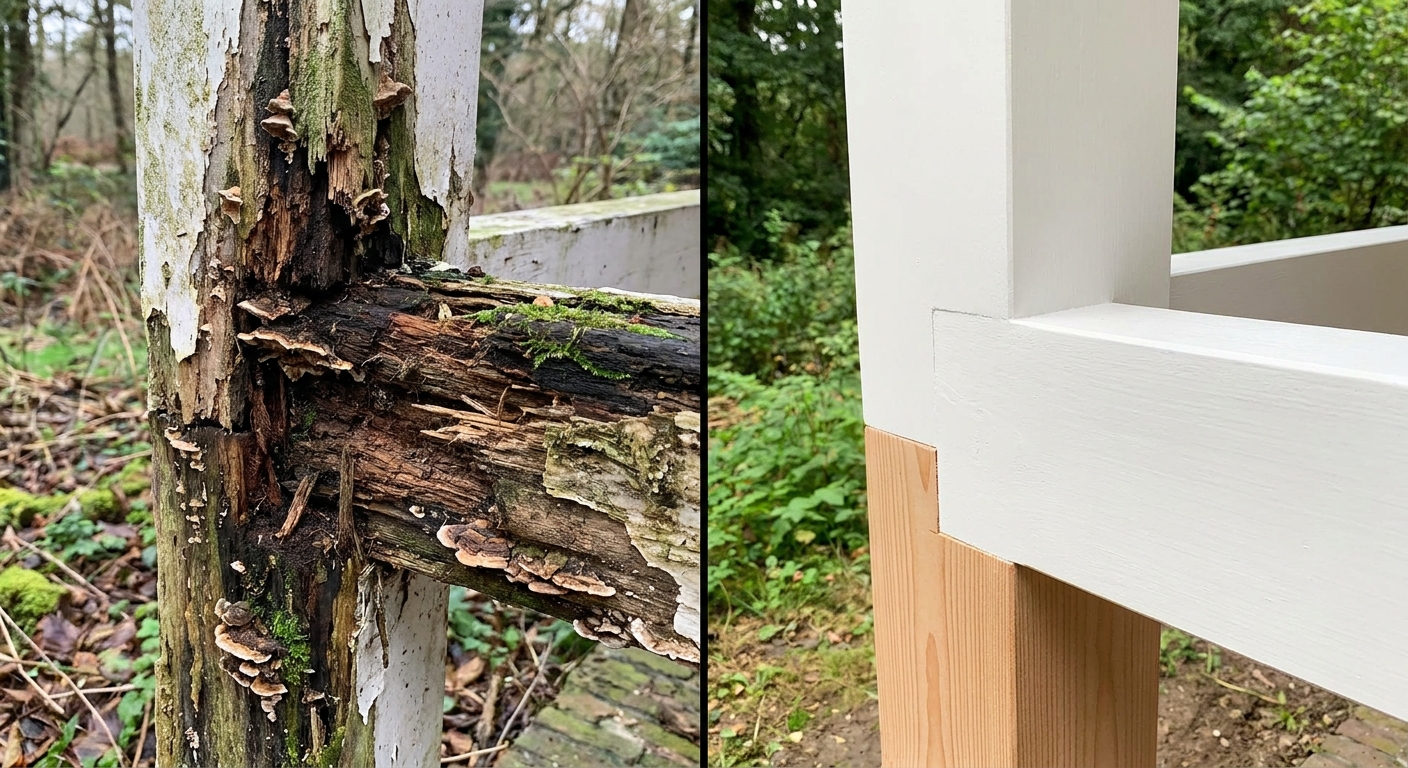
One of the most frequent issues homeowners face is the development of rot, particularly around the base of the door frames and wall panels. If you spot soft or spongy wood, you must act quickly by cutting out the affected area and replacing it with a new, pressure-treated piece of timber. Always treat the surrounding area with a strong wood preservative to ensure the rot does not spread to the healthy sections of the structure.
Another common problem is sticking doors, which usually occur due to the wood expanding during wet weather or the shed settling over time. To fix this, check the hinges for rust or loose screws and tighten them as needed; if the door still binds, a quick shave with a hand plane along the edge will restore its smooth operation. Finally, if you notice condensation inside the shed, it is a sign of poor ventilation, which can be easily remedied by installing simple air vents or a louvered window to allow for constant airflow.
Tips for Better Results
To get the absolute best results, try to adopt a ‘little and often’ approach to maintenance rather than waiting for a major problem to arise. A quick walk-around every few months allows you to spot small issues like a loose nail or a cracked pane of glass before they escalate into costly repairs. Additionally, consider installing guttering on your shed, which directs rainwater away from the base and significantly reduces the amount of moisture the timber is exposed to throughout the year.
Pro tip: keep a small tin of touch-up paint or stain in your garage for immediate repairs to any scratches or dings that occur during daily use. By keeping the protective barrier intact, you prevent moisture from ever reaching the bare wood. Remember that a well-maintained shed is a source of pride and utility, so take the time to care for it, and it will serve you faithfully for decades to come.
Frequently Asked Questions
How often should I treat my shed?
We recommend applying a high-quality wood preservative or stain every two to three years, depending on your local climate and the level of sun exposure.
What is the best way to stop a shed from rotting?
The best way to prevent rot is to keep the shed off the ground, ensure good ventilation, and keep the exterior wood sealed with a water-repellent treatment.
Can I paint a shed that is already damp?
No, you should always wait for the wood to dry out completely before applying any paint or stain, otherwise, you will trap moisture inside the wood.
Maintaining your shed doesn’t have to be a chore; with a bit of regular attention, you can keep your garden building in top condition for years. By following these simple steps, you protect your investment and ensure your tools stay safe and dry.