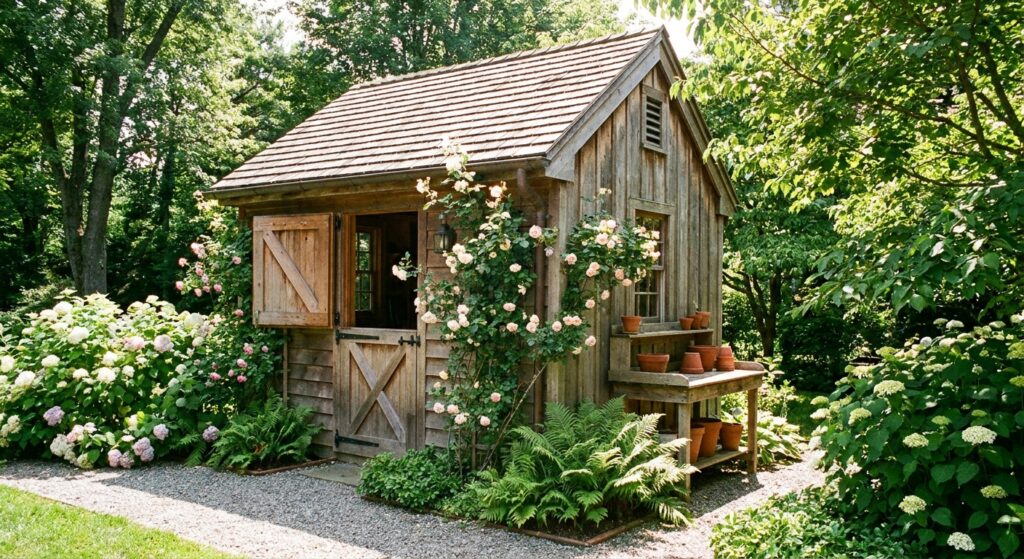
A garden shed is a valuable asset, but it is constantly battling the elements. Learning how to weatherproof a shed is the most effective way to protect your tools, equipment, and the structure itself from rot, rust, and dampness.
What You Need Before You Start
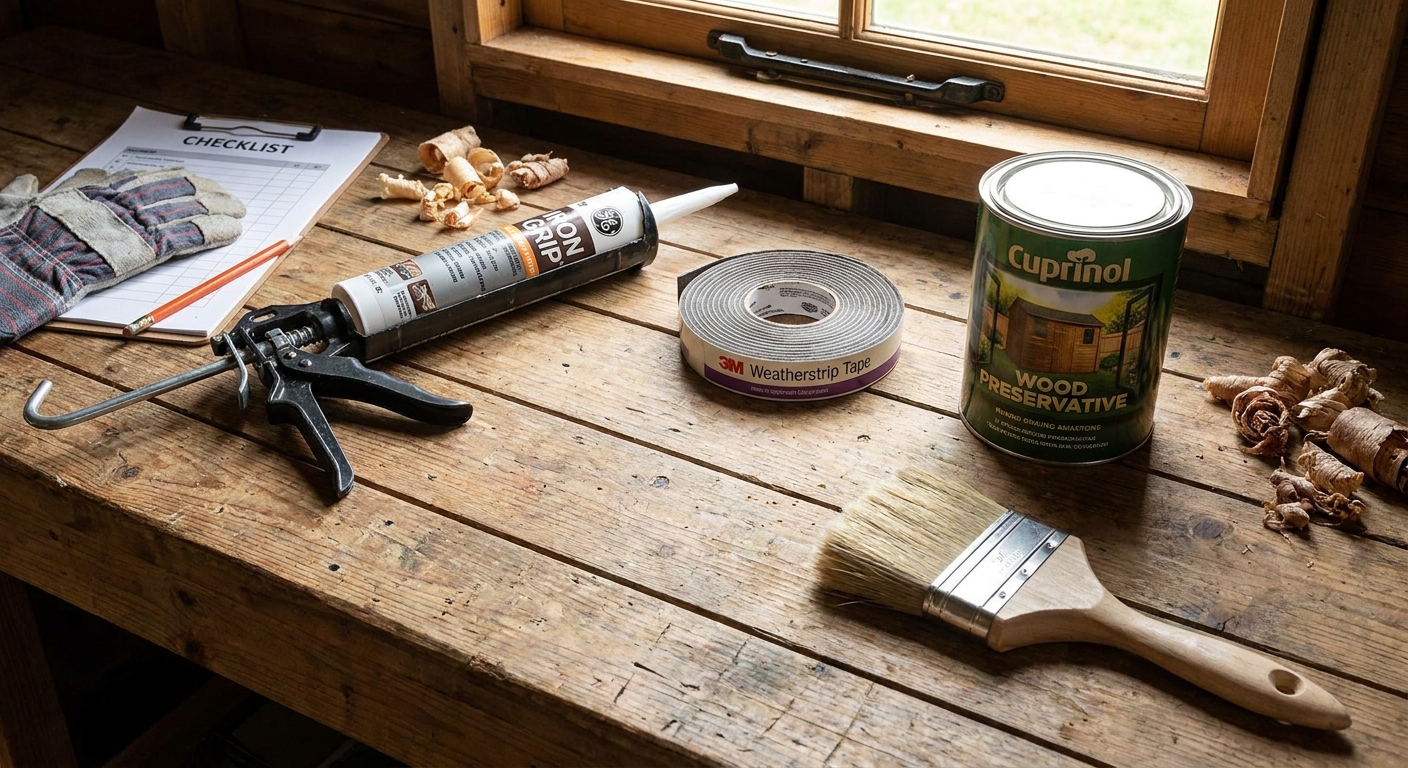
Before you begin your weatherproofing project, gather all the necessary materials to ensure the process goes smoothly. You will need a high-quality exterior-grade caulk, a caulking gun, weatherstripping tape for doors and windows, and a wood preservative or exterior paint. Having these items ready prevents mid-project interruptions and ensures you can seal every vulnerable point effectively.
For more extensive repairs, consider investing in a heavy-duty shed sealant or liquid flashing, which is excellent for sealing the base edges where water often seeps in. If you are working on a wooden structure, a reliable wood treatment or oil-based stain is essential to prevent moisture absorption. Check your local hardware store for these items, or look for professional-grade sealants that offer long-term protection against harsh weather conditions.
Step 1 – Inspect and Prepare the Surface
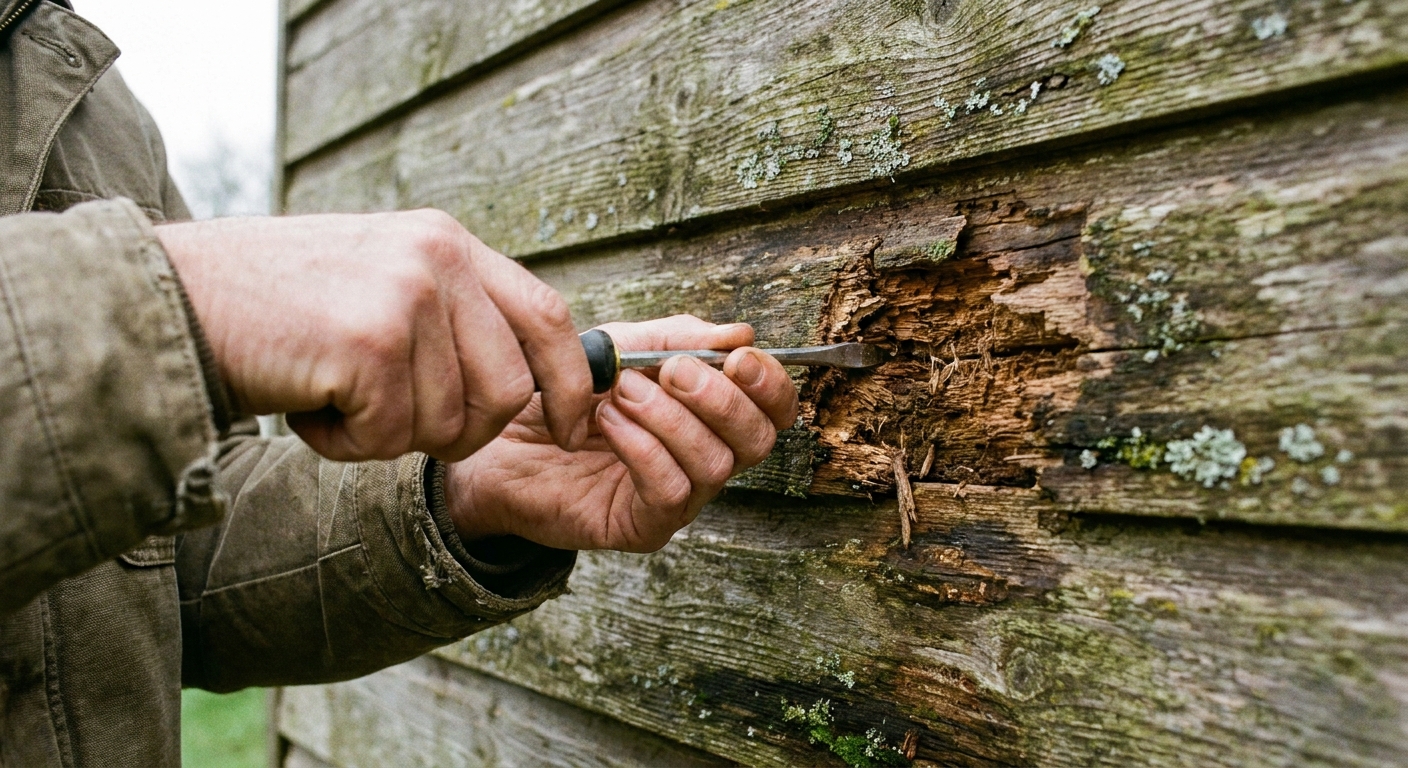
The first step in weatherproofing is a thorough inspection of your shed’s exterior. Look for signs of rot, loose cladding, or gaps around the window frames and door edges. Use a screwdriver to gently probe any suspicious-looking wood; if it feels soft or spongy, that area will need to be replaced or treated with a wood hardener before you proceed with sealing.
Once you have identified the problem areas, clean the surface thoroughly to remove dirt, moss, and loose debris. A stiff-bristled brush or a pressure washer on a low setting works well for this task. Ensure the wood is completely dry before applying any sealants, as trapping moisture inside the timber can lead to accelerated decay over time.
Step 2 – Seal Gaps and Cracks
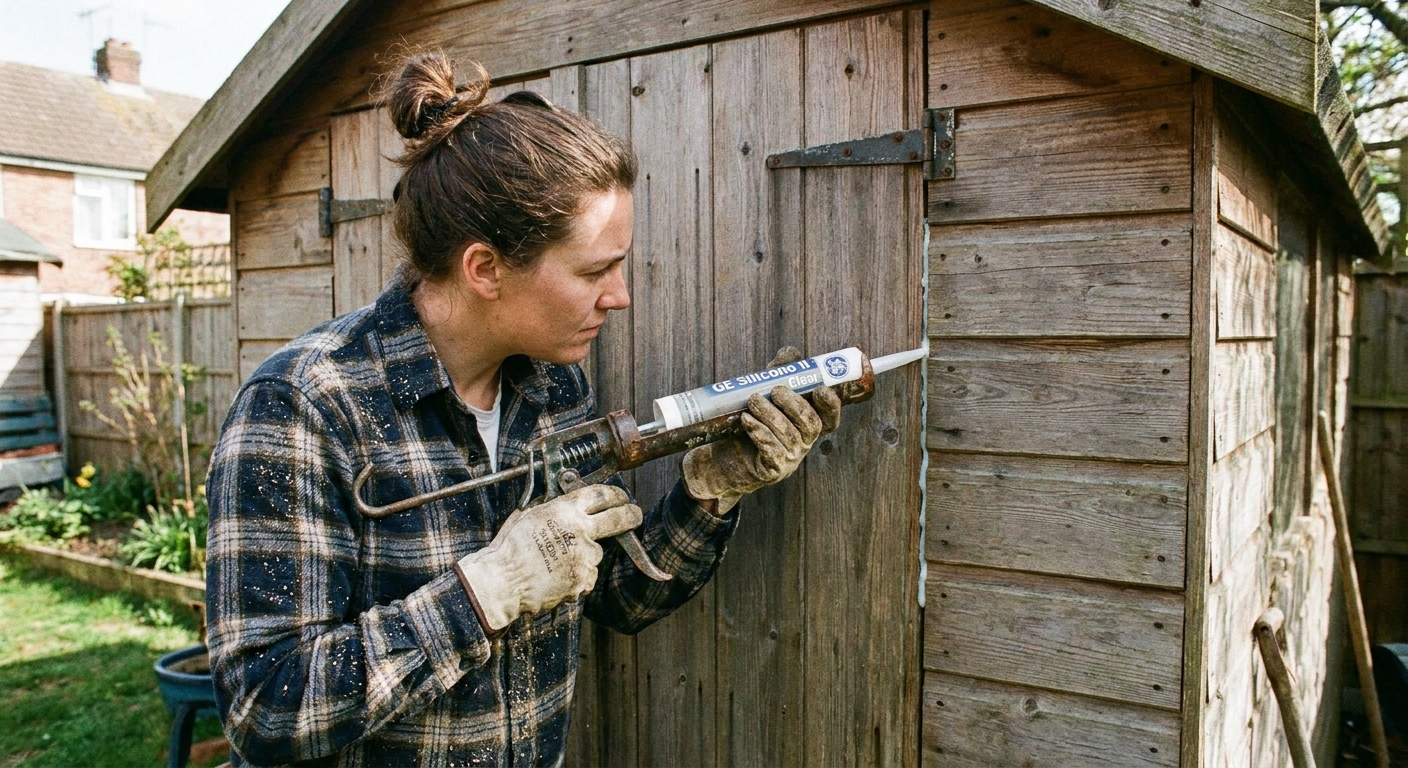
Now that the surface is clean and dry, it is time to address the gaps that allow water ingress. Use your exterior-grade caulk to fill any cracks in the timber or gaps between the wall panels and the frame. Apply the caulk in a steady, even bead, and use a smoothing tool or your finger to press it firmly into the gap for a watertight finish.
Pay special attention to the bottom edge of the shed, where the walls meet the foundation. This is the most common entry point for water, so applying a thick, durable sealant here is critical. If you notice larger gaps, you may need to use a backer rod before caulking to ensure the sealant has a solid base to adhere to, which will prevent it from cracking as the shed expands and contracts with temperature changes.
Step 3 – Protect Doors and Windows
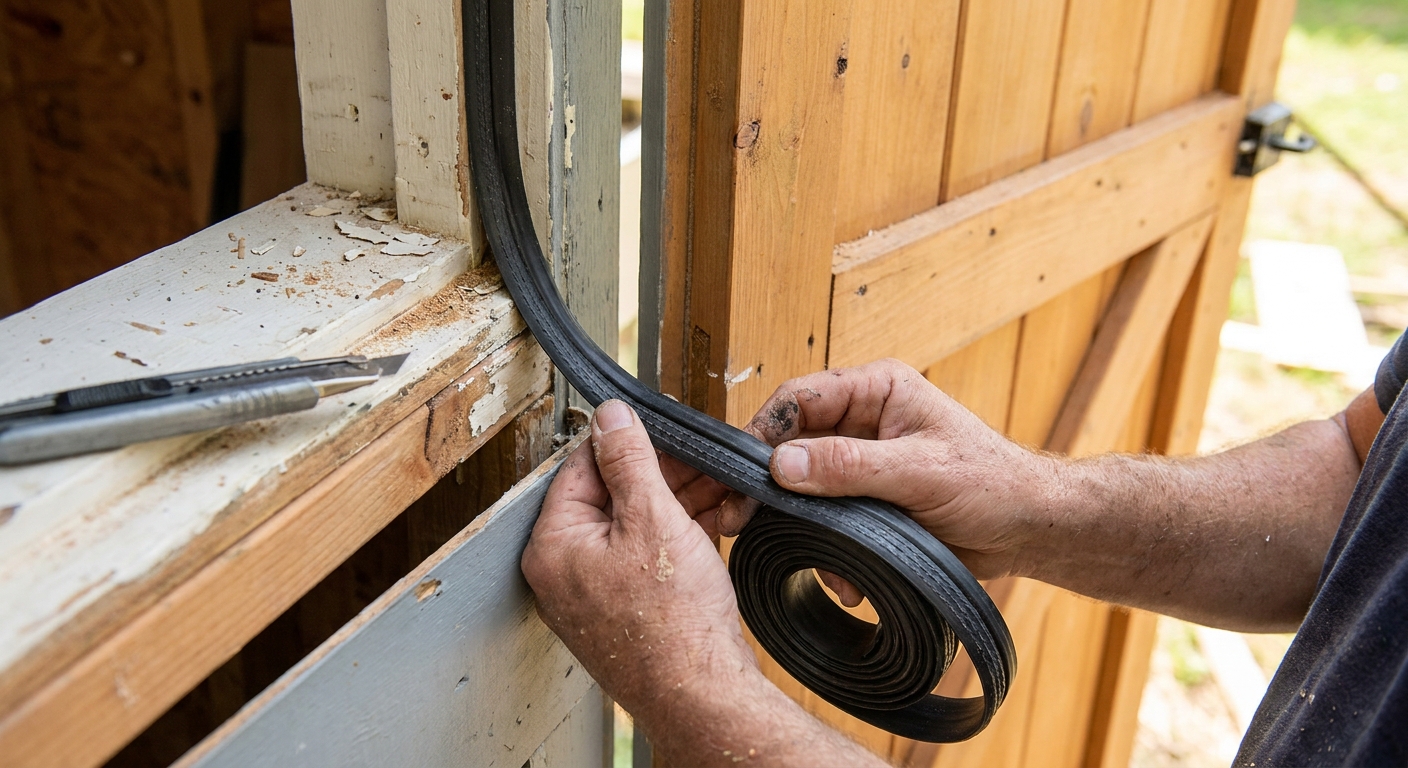
Doors and windows are the most common culprits for leaks in any garden building. Install self-adhesive weatherstripping tape around the door frame to create a tight seal when the door is closed. This not only keeps water out but also helps to prevent draughts, which is particularly useful if you use your shed as a workshop or hobby space.
For windows, check the glazing putty or rubber seals for any signs of degradation. If the seals are cracked or missing, replace them immediately to prevent water from running down the inside of the glass and pooling on the sill. A small amount of clear silicone sealant applied to the exterior corners of the window frame can provide an extra layer of protection against driving rain.
Common Problems and Fixes
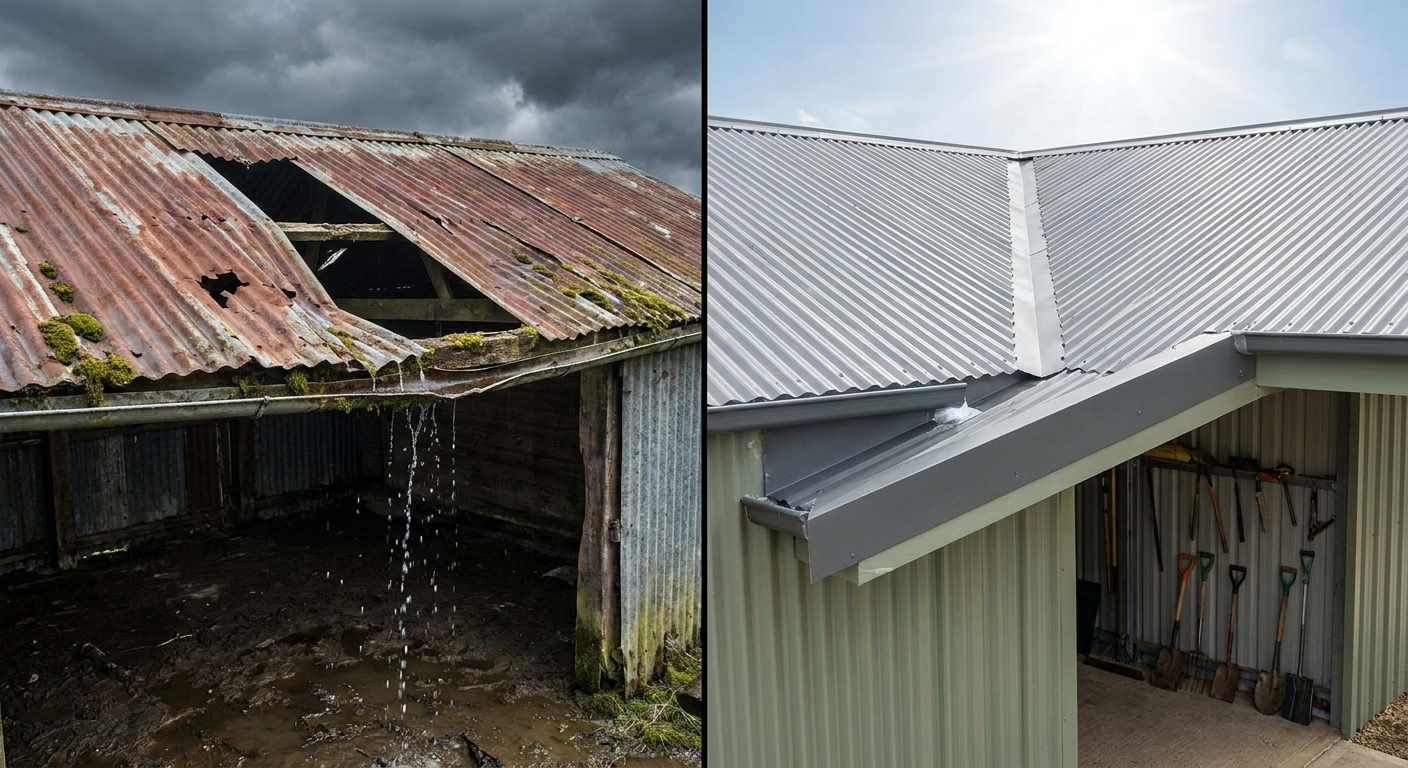
One of the most frequent issues homeowners face is water pooling at the base of the shed. To fix this, ensure the ground around the shed slopes away from the structure, or consider installing a gravel trench to improve drainage. If the wood is already showing signs of damp, apply a high-quality wood preservative to stop the rot from spreading further.
Another common problem is condensation forming on the inside of the roof. This is often due to poor ventilation, which can be solved by installing simple air vents or a roof ridge vent to allow moisture to escape. If you notice leaks coming from the roof itself, check for loose or damaged felt and patch it with a bitumen-based roof repair kit, which is easy to apply and highly effective.
Finally, if your shed door has warped and no longer fits the frame, it can let in significant amounts of water. You can often fix this by installing a door drip bar or a rain deflector above the door to divert water away from the threshold. If the door is beyond repair, replacing it with a new, properly fitted door is a worthwhile investment to keep your belongings safe and dry.
Tips for Better Results
To achieve the best results, always aim to perform your weatherproofing tasks during a dry spell. Applying sealants or paints in damp, cold conditions will prevent them from curing properly, leading to premature failure. If you are painting the shed, choose a high-quality exterior wood stain that offers UV protection, as this will keep the wood supple and less prone to cracking over time.
Another pro tip is to elevate your shed slightly if possible, using concrete blocks or a dedicated shed base. This keeps the timber off the damp ground, which is the single most effective way to prevent rot. Regularly checking your shed twice a year—once in spring and once in autumn—will allow you to catch small issues before they become expensive repairs, ensuring your shed remains a reliable storage solution for many years.
Frequently Asked Questions
How often should I treat my shed?
It is recommended to treat your shed with a high-quality wood preservative at least once every year or two, depending on the weather conditions in your area.
Can I waterproof a shed from the inside?
While you can seal gaps from the inside, it is much more effective to waterproof from the outside to prevent water from entering the structure’s walls in the first place.
What is the best way to seal a shed door gap?
The best way is to use self-adhesive rubber or foam weatherstripping tape, which compresses when the door is closed to create a tight, water-resistant seal.
Weatherproofing your shed is a simple yet vital task that significantly extends the life of your garden building. By following these steps, you can ensure your shed remains a dry, secure space for all your tools and projects.